Photography and Imagery · Labs · 3 min read
Write an image brief
A guided lab: pick one product screen, name the image's job, write a one-page brief and a shot list, and find three references. About an hour, with paper or any notes app and a free image library.
A good brief gets you the photo before anyone picks up a camera, or writes a prompt. You'll write one for a real screen, from the image's job to the crops it must survive. Then you'll test it the honest way: could someone who has never seen your product bring back the right photo?
What you'll do:
- Name the job of one image on one screen
- Write a one-page brief
- Turn it into a shot list of three to five shots
- Find three references that show the direction
You'll need: paper or a notes app, a free image library such as Wikimedia Commons, about an hour.
1. Pick the screen and name the job
Choose one screen that has, or needs, a photo: a home page hero, a product page, an onboarding step. Write one sentence:
This image is here to ______, for ______, so they can ______.
Use the jobs from What an image does in a product: show the product, show a step, show the people, say where you are, set a feeling. If you can't fill the sentence, the screen may not need a photo at all (see Photo, illustration or nothing).
2. Write the brief
Fill this in, one line each. The worked example is a small bakery's ordering app:
| Field | Your answer | Worked example |
|---|---|---|
| Job | Show that the bread is baked here, by people, every morning | |
| Audience | Neighbours ordering for pick-up, mostly on phones | |
| Must show | Real loaves, the bakery's own shelves, hands at work | |
| Must avoid | Staged smiles at the camera, generic stock kitchens, brands | |
| Light and mood | Soft morning daylight, warm, calm (see Light and what it says) | |
| Crops | 16:9 desktop, 4:5 phone; subject in the lower half | |
| Space for text | Calm area in the top third for a headline | |
| People | Hands only, or people who signed a release (see People in images) | |
| Source and licence | Own shoot; library CC0 as a fallback (see Licences without fear) |
3. Turn it into a shot list
A shot list is the brief as a list of photos to take, or to find. Start with wide, medium and detail (see The image brief and the shot list):
- Wide: the bakery corner, shelves full, morning light.
- Medium: loaves cooling on the rack.
- Detail: one loaf, the crust, close.
- People: hands shaping dough.
- Spare: a calm, empty part of the shop, for text.
4. Find three references
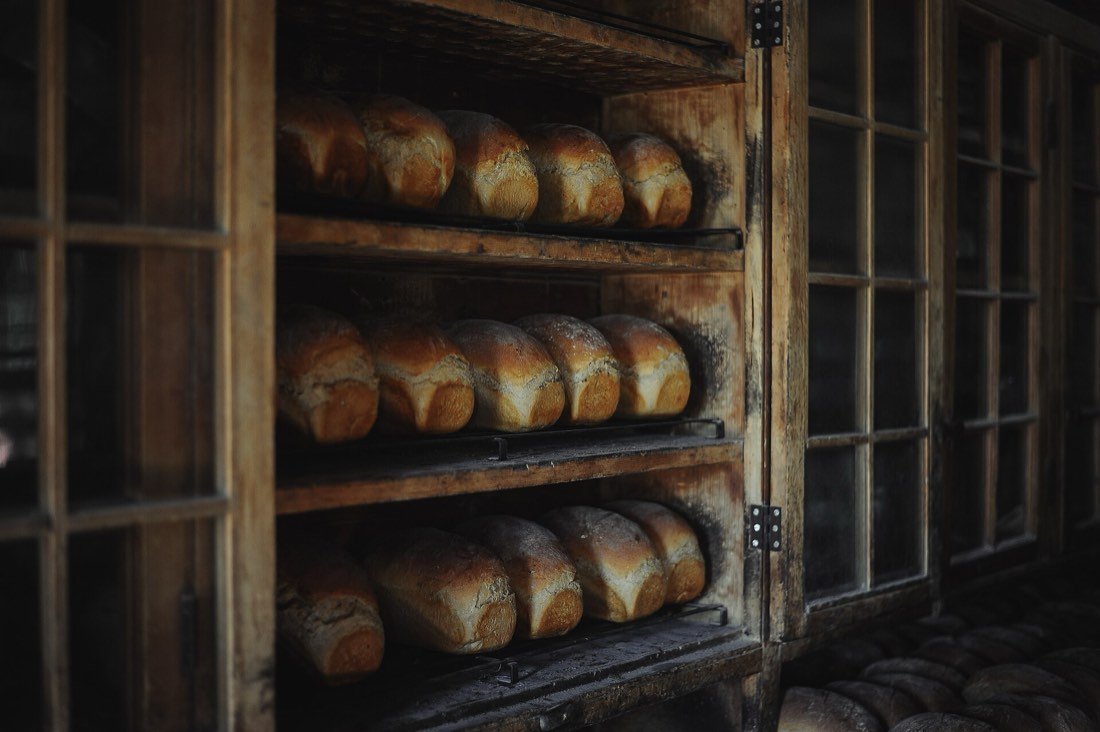 Reference 1: the place, in daylight
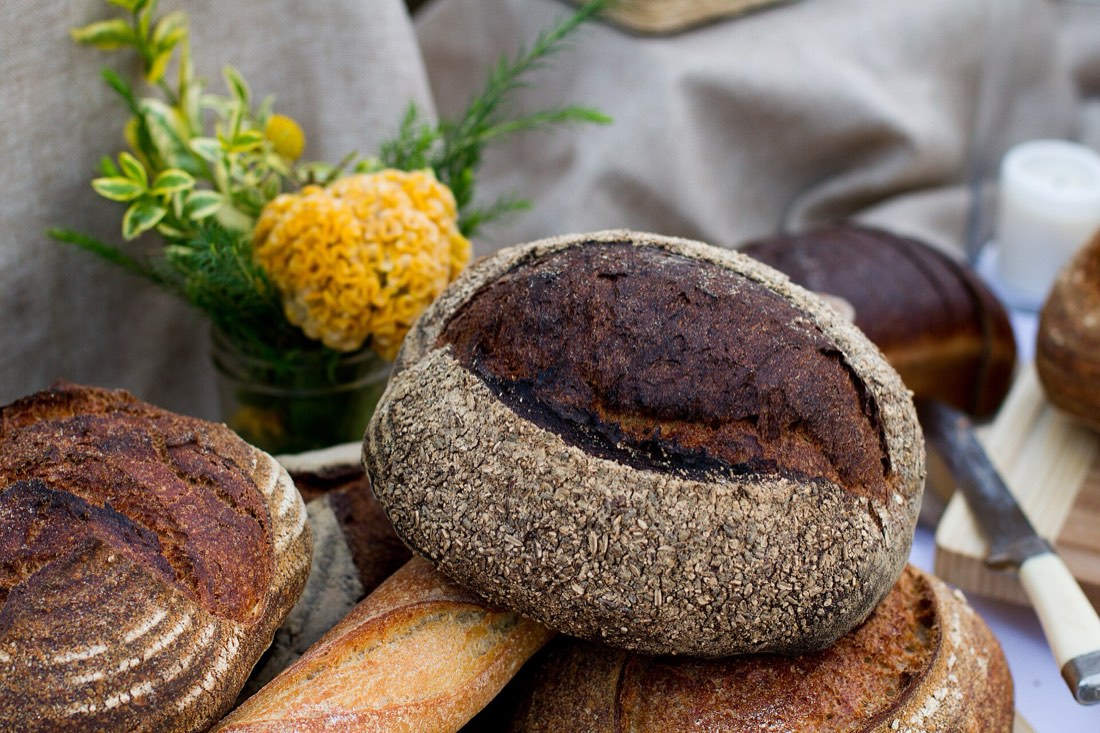 Reference 2: one loaf, close
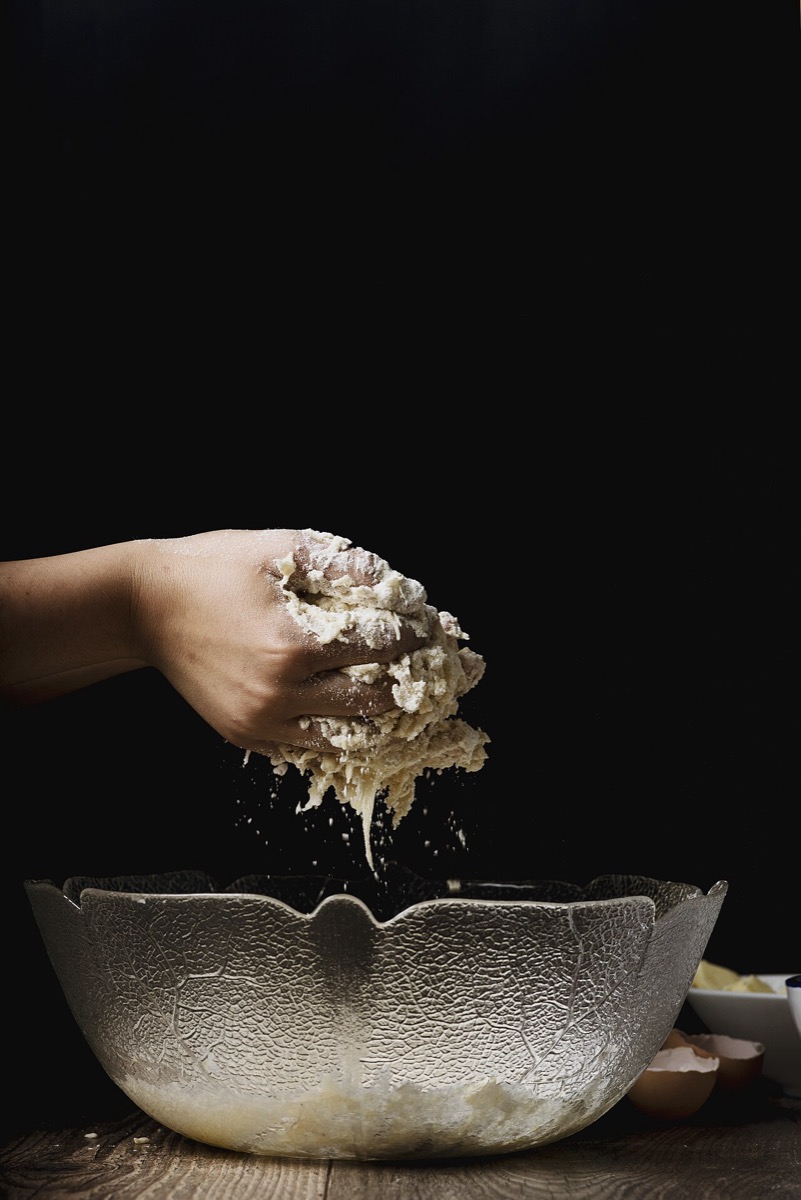 Reference 3: hands at work
Search a free library for three photos that show the direction: the light, the distance, the feeling. Write one line under each saying what it shows. References are a language for the brief, not the final photos.
5. Test the brief
Give the brief, without the references, to someone who hasn't seen your product. Ask them to describe, or find, the photo they'd bring back. Compare with your references.
If what comes back is wrong, fix the brief, not the person: which line was vague? Rewrite it as something you could check.
6. Check your work
Reflection questions: Which line of the brief did the tester misread? What would you add to the brief if this were for a generated image instead of a shoot?
Related
The image brief and the shot list · What an image does in a product · Library, shoot or generated · One look for the whole product · Image brief template